


Posted on Date 20th Dec 2023
How to Fit Tile Backer Board
How To Use Tile Backer Boards
Tile backer boards help you create the perfect foundation for your tiles, and that includes both walls and floors. They are also resistant to permanent water damaged, making them an ideal solution for use in wet areas like bathrooms or kitchens.
The process of fixing and using tile backer boards is direct and easy. Installing tile backer board on uneven walls is also not that difficult. Read our blog to find a guide on tile backer board installation.
The best way to use backer boards
Traditionally you would have used either plasterboard or plywood as your substrate when tiling wet areas in your home.
But in recent years these have been replaced by cement-based backer boards. They have proven to be the perfect base on which to lay bathroom tiles and kitchen tilesthanks to their waterproof qualities and the fact that they don't need to be treated before tiling your floor or wall.

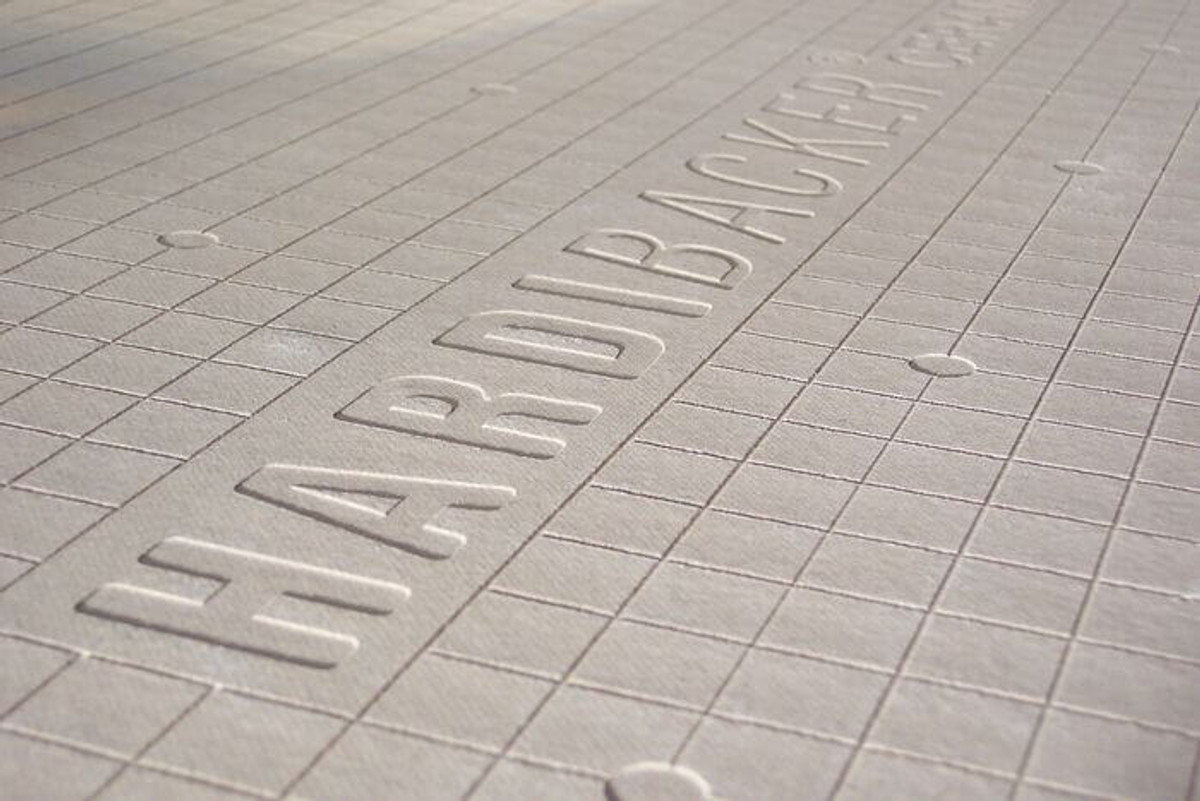
HardieBacker boards are available in both 6 and 12-mm sizes.
They can also hold more weight, in terms of your adhesive, grout and tiles, compared with other popular surfaces such as plastered walls, plasterboard or Wedi boards, up to 10 times more in some instances. So, make sure to read on to find out more about backer boards and the best way to use them in your home on your next tiling project.
What are the weight limits for wall substrates?
- Gypsum Plaster up to 20KG/m2
- Gypsum Plasterboard direct without a plaster skim up to 32KG/m2
- XPS Boards (Wedi) up to 120KG/m2
- Cement Boards (HardieBacker) up to 200KG/m2
Our favourite at Tile Warehouse is HardieBacker. Not only are they easy to install but they can also be fitted directly onto a stud wall or a wooden or timber floor.
They have been ingeniously designed thanks to products such as Portland Cement to make them all-weather resilient. These give HardieBacker unique characteristics such as resistance to fire and water damage as well as rotting, warping and UV making them far longer lasting than other brands. As a bonus, they come with a 10-year limited guarantee.
How to fit backer board to floorboards
The ideal support for floorboards is the 6mm HardieBacker boards (although you can use 12mm boards if additional height is required).
To fit backer board to floorboards, follow these easy steps:
- The HardieBacker should be installed onto a clean and smooth surface, so make sure to remove any debris or dust.
- Remove or fix any floor damages such as uneven, warped or loose floorboards.
- To avoid excessive movement, which can lead to tile cracks, we would also recommend using a 15mm WBP plywood or an 18mm T&G flooring grade chipboard.
- The board joints should be staggered in a brick pattern and should not align with subfloor joints. You will find that the boards can be easily scored and snapped using a HardieBacker scoring knife.
- If there are any gaps of 3mm or more between the wall edges and the floor these should be filled with a moisture resistant sealant.
- Then, simply apply a gap-filing bed of tile adhesive using a 6mm notched trowel and slowly embed your boards into the wet adhesive with a sliding motion.
- The boards will then need to be fixed to the subfloor using a minimum of 12 screws into the board (4 rows of 3).
- Wherever possible try and keep your screws 15mm from your board edges and 50mm from board corners. Alkaline-resistant tape should also be placed over the joints.
- The last thing you will need to do before you start tiling is to prime the face of the board with a suitable primer if you are planning on tiling using a cement-based tile adhesive.
How to fit backer board to masonry walls
The good news is that both 6mm and 12mm HardieBacker cement boards can be used on masonry walls. Plus, as previously mentioned, they can take up to 200kg of tile hanging weight per m2 so almost any tile can be fixed.
To fit backer board to masonry walls, follow these easy steps:
- The backer boards should be installed onto a clean and smooth surface and all dry lining removed prior to installation.
- Place three vertical beads of high-strength adhesive evenly down the back of the board and press firmly against the wall.
- The board joints should always be staggered in a brick pattern and fastened with 9 (6mm x 60mm) stainless steel screws into brown wall plugs. Ensure you do not overdrive the screws and the screw remains flush with the front of the board.
- Once secured cover the joints with an alkaline-resistant tape.
- Just like the floor, prime the face of the board with a suitable primer if you plan on using a cement-based adhesive. No priming is needed if you plan on using a ready-mixed adhesive.
How to fit backer board to plaster or plasterboard
The process for boarding onto plaster or plasterboard is very similar to masonry walls but with a few slight differences.
- The first thing to do is locate any existing studs and mark the plasterboard or plaster.
- The boards can be installed either vertically or horizontally as long as you ensure all vertical joints are made in the centre of the studs.
- Make sure to leave a 3mm gap between the floor and wall edges and fill this with a good quality silicone sealant.
- Then fix stainless steel screws (a minimum of 45mm in length) at 200mm centres and every 200mm down each stud.
- Once secured, cover the joints with an alkaline-resistant tape.
- Don't forget to prime the face of the board with a suitable primer if you are planning on using a cement-based adhesive. No priming is needed if you are going to be using a ready-mixed adhesive.
How to fit backer board onto stud walls
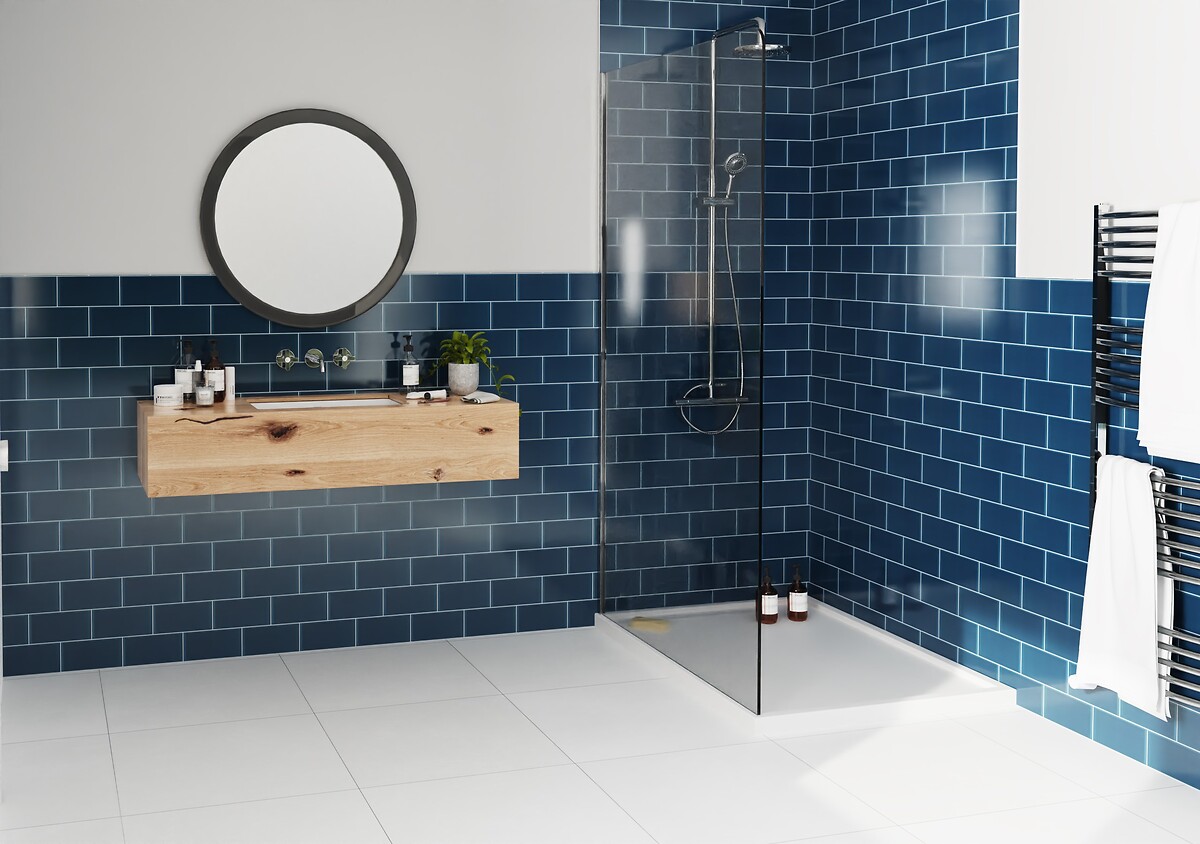
Bathroom with Underground Teal Tiles 10x20cm
We would recommend using 12mm HardieBacker boards when fixing tiles to stud walls.
To fit backer board to stud walls, follow these easy steps:
- The backer boards can be installed either vertically or horizontally, ensuring all vertical joints are at the centre of the studs.
- Remember to leave a 3mm gap between the floor and wall edges and fill this with a good quality silicone sealant.
- Then fix stainless steel screws (a minimum of 45mm in length) at 200mm centres and every 200mm down each stud. Once secured, cover the joints with an alkaline-resistant tape.
- Don't forget to prime the face of the board with a suitable primer if you are planning on using a cement-based adhesive. No priming is needed if you are going to be using a ready-mixed adhesive.
How to use backer board on uneven walls
Installing tile backer board on uneven walls requires a bit more action on the preparation steps.
Follow these tips to make sure that you achieve an even, flat surface for you to tile on.
- Remove any loose or protruding materials from the wall.
- If there are significant high spots, consider grinding them down if feasible.
- Plastering the walls in the best way to ensure that they are nice and even and ready for you to tile on.
- Using varying amount of adhesive like back buttering will pack out the base and raise the tile to the level of the one next to it.
How to use backer board in wet rooms
Thanks to its all-weather resilience products such as HardieBacker, backer boards can also be used in wet rooms. However, before applying your backer board, you must tank the area using either a liquid membrane or a matting system to ensure it is fully waterproof.
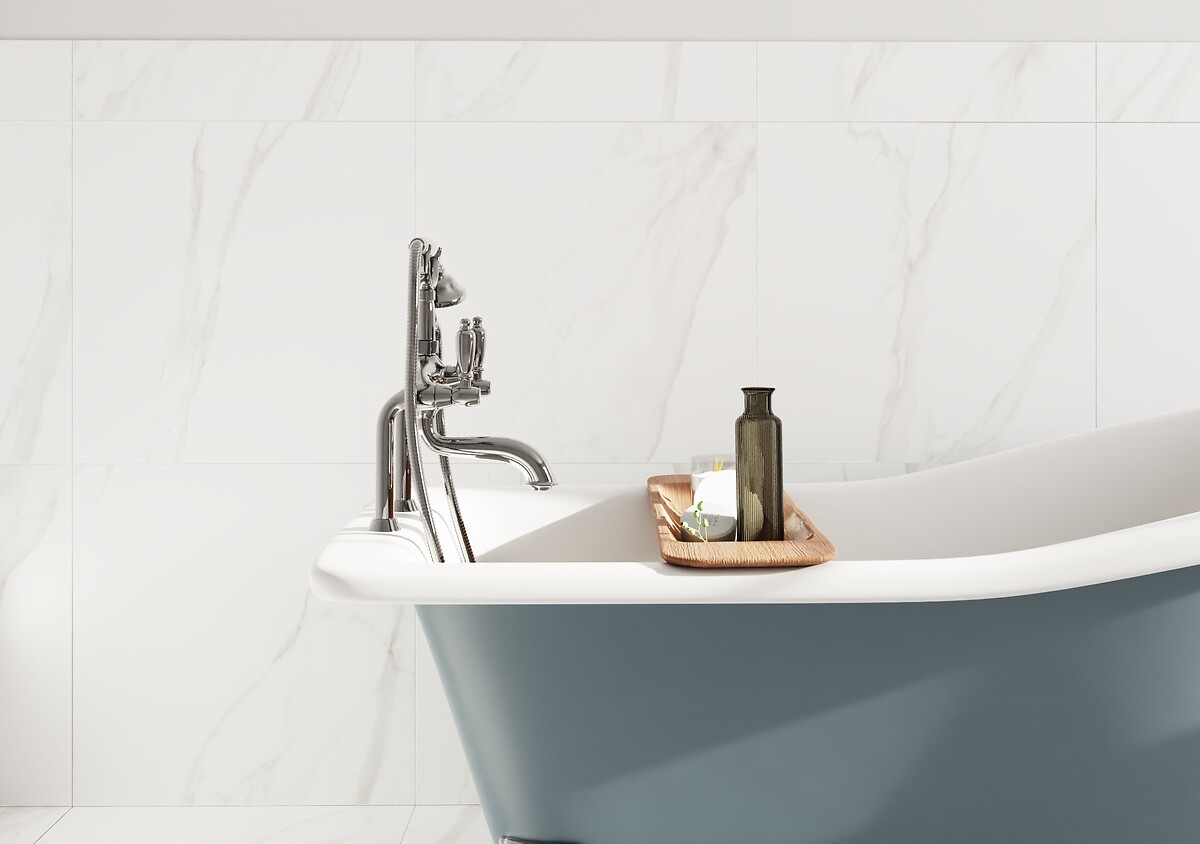
Bathroom with Duomo White Satin Tiles 60x60cm
How to fit backer boards to walls - Tutorial video
Tile Warehouse has teamed up with YouTuber Proper DIY to show you the easiest way to fit backer boards to the walls in your home. Watch the video for further guidance.
If you have any questions regarding selecting the right tiles for your home, please contact our Customer Service team using our web chat facility.
Frequently Asked Questions
Can you plaster tile backer board?
Yes, you can plaster over the tile backer board. Tile backer boards, such as cement boards, provide a stable and moisture-resistant surface suitable for plastering. However, remember these tips:
- Ensure the plaster mix is appropriate for your project's specific conditions, such as moisture levels and temperature.
- Follow the manufacturer's guidelines for drying times between coats.
- Consider using plaster designed to be used over backer board for best results.
How to waterproof plasterboard before tiling
Waterproofing plasterboard before tiling adds an extra layer of protection. To do so, you can apply a tanking system to the plasterboard prior to tiling. Some waterproofing systems require a primer to be applied to the plasterboard first, if this is the case follow the manufacturer's instructions to apply the primer using a brush or roller.
Recommended reads
If you would like to learn more about tiling in your home, then why not check out these related advice articles: