


Posted on Date 20th Dec 2023
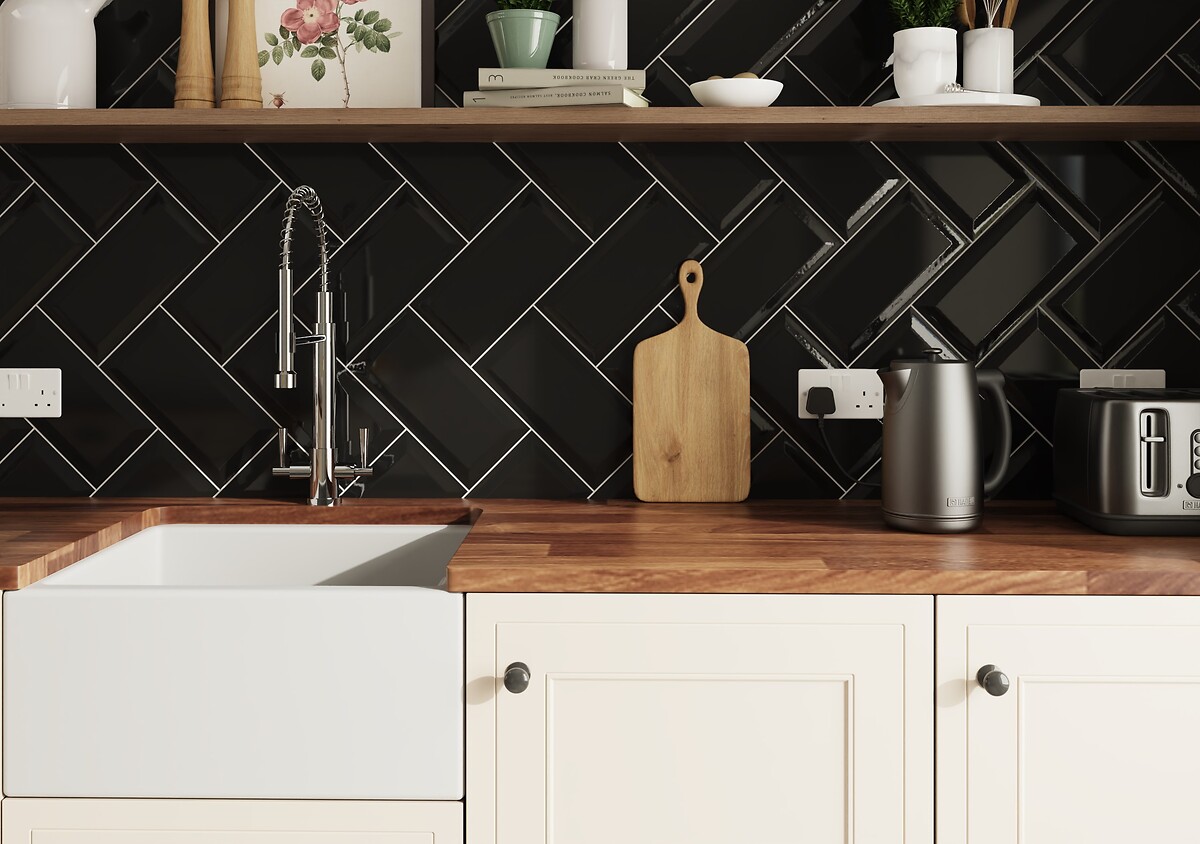
How much adhesive do I need for tiling?
Thinking of fitting your own floor or wall tiles? That's what we like to hear at Tile Warehouse.
If that's the case, then this quick guide is perfect for showing you how to work out how much tile adhesive you are going to need for tiling as well as how to mix as well as apply your tile adhesive correctly to achieve the best possible results. This will ensure that your tiles are fitted safely and securely in your home. For more information on our range of tile adhesives then click here.
How to prepare a floor or wall for tiling step by step guide
Step 1
Ensure your floor or wall is level, dry and free of dust, grease or any loose material.
Step 2
Check the surface is completely secure without any obvious movement and capable of carrying the additional weight of the tiles and adhesive.
Step 3
Don't forget that if you are planning to tile in the bathroom or shower room these will need to be fully waterproofed prior to tiling.
Step 4
Ensure you are wearing suitable safety equipment such as gloves, googles and face masks whenever mixing adhesive as cement-based powders can cause irritation.
How much tiling adhesive do I need for tiling?
The manufacturers instructions on the tile adhesive packaging will detail which types of tiles it can be used with as well as exactly how much water is required when mixing.
Most adhesives, other than ready mixed adhesives, are powder based, which when mixed with water, makes them suitable for fixing floor and wall tiles, including porcelain, mosaic, and quarry tiles.
If the surface is suitably prepared, then mix in the ratio of approximately three parts powder to one part cold clean water by volume. Always use your tile adhesive within five hours of mixing and never use below 5of. You should add 10% to the total amount of adhesive to allow for spillages etc and give up to 24 hours before grouting your tiles.
Although it depends on the nature and flatness of the surface on which you are applying your tiles, on a level background you can expect to use 2kg/m2 of adhesive for a wall and 4kg/m2 of adhesive for floors, wet areas and exteriors. We would always recommend that you read the manufacturers instructions for exact guidance before mixing your adhesive.
How long can you store tile adhesive?
Tile adhesive must be stored in unopened packaging, off the ground, in cool dry conditions and protected from excessive draught. If stored in dry conditions, between 5C and 30C, your tile adhesive should have a shelf life of 12 months.
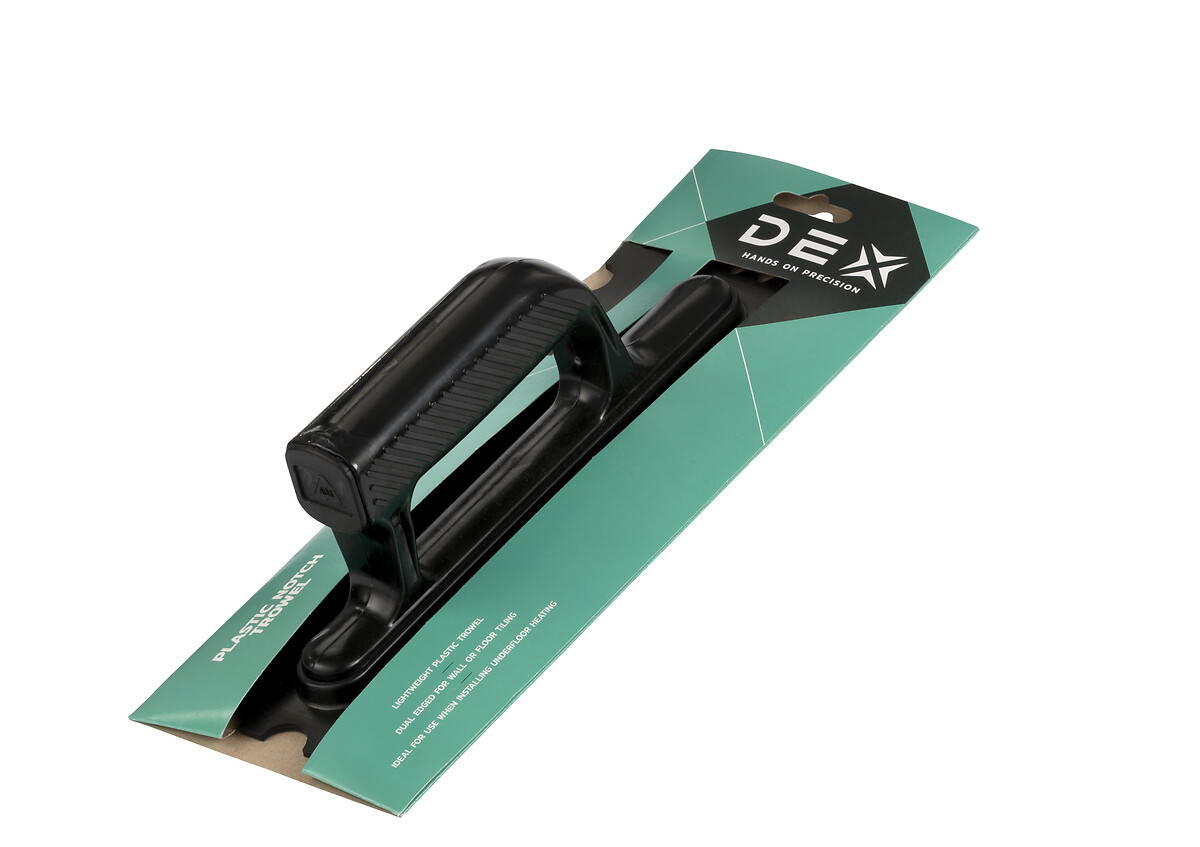
What tools do you need to mix tile adhesive
If you're new to tiling, and don't have any equipment, we would recommend buying the following prior to mixing and applying your adhesive:
- Bucket
- Mixing paddle
- Bucket trowel
- Notched trowel
- Protective equipment (glasses, gloves and facemask)
The best way to mix tile adhesive
If you need more information on the best way to use tile adhesive, make sure to watch the video that weve created below with hit YouTuber Proper DIY. Its packed full of really useful tips & advice for any DIYer planning on using tile adhesive in their home.
How to apply tile adhesive
Once you've added your adhesive to your cold, clean water, use the mixing paddle to stir the adhesive, making sure to reach into the sides and base of the bucket. Keep mixing until the adhesive is free of any lumps and is a nice smooth, buttery consistency.
Given that adhesive is a cement-based product, it tends to set quickly when applied so stick to a small area at first to master your technique and minimise waste. If in doubt always refer to the adhesive packaging for the recommended work time with the product.
Generally, allow 15 30 minutes to apply your adhesive as well as fit each square metre of tile. Use a notched trowel to create channels into the adhesive as these will give you more grip. Push your tile into the adhesive before sliding it away about 5mm and then back again. This will help secure the tile and reduce the amount of air that can sit between the tile and the floor or wall.
Repeat this process with the next tile, using spacers to separate the tiles as you go until your wall is complete. If any adhesive gets into the tiles, remove immediately with a damp sponge. Once you've laid your tiles wipe of any excess adhesive and ensure the joints are clear of adhesive too, then its just a case of putting on the kettle for a brew while you wait for the tiles to cure ready for grouting.
Need more information?
If you have any questions regarding selecting the right tiles for your home, then feel free to contact our Customer Services team using our web chat facility.