


Posted on Date 20th Dec 2023
How to lay a patio
Patios may be a challenge to lay but they are well worth it come the summer months and you want to entertain family and friends.
And, where once patios were a walk on the boring side, today, thanks to the wonders of modern tiling technology, you can now take the indoors outdoors and with our great selection of outdoor tiles make your patio an extension of your home.
Plus, once installed, patios are relatively low maintenance, hard wearing and thanks to the latest in anti-slip technology, safe to use all year round. Why not find out more in our handy advice guide to laying tiles in your garden?
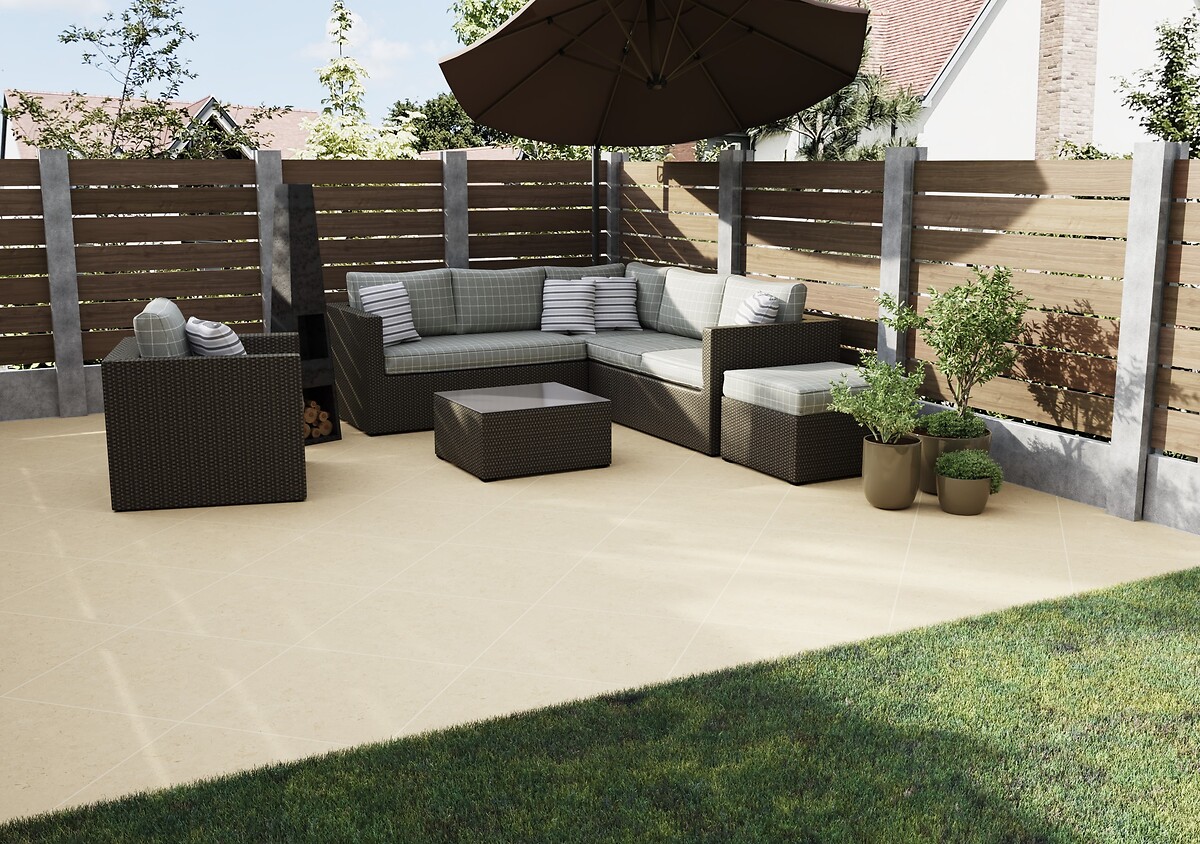
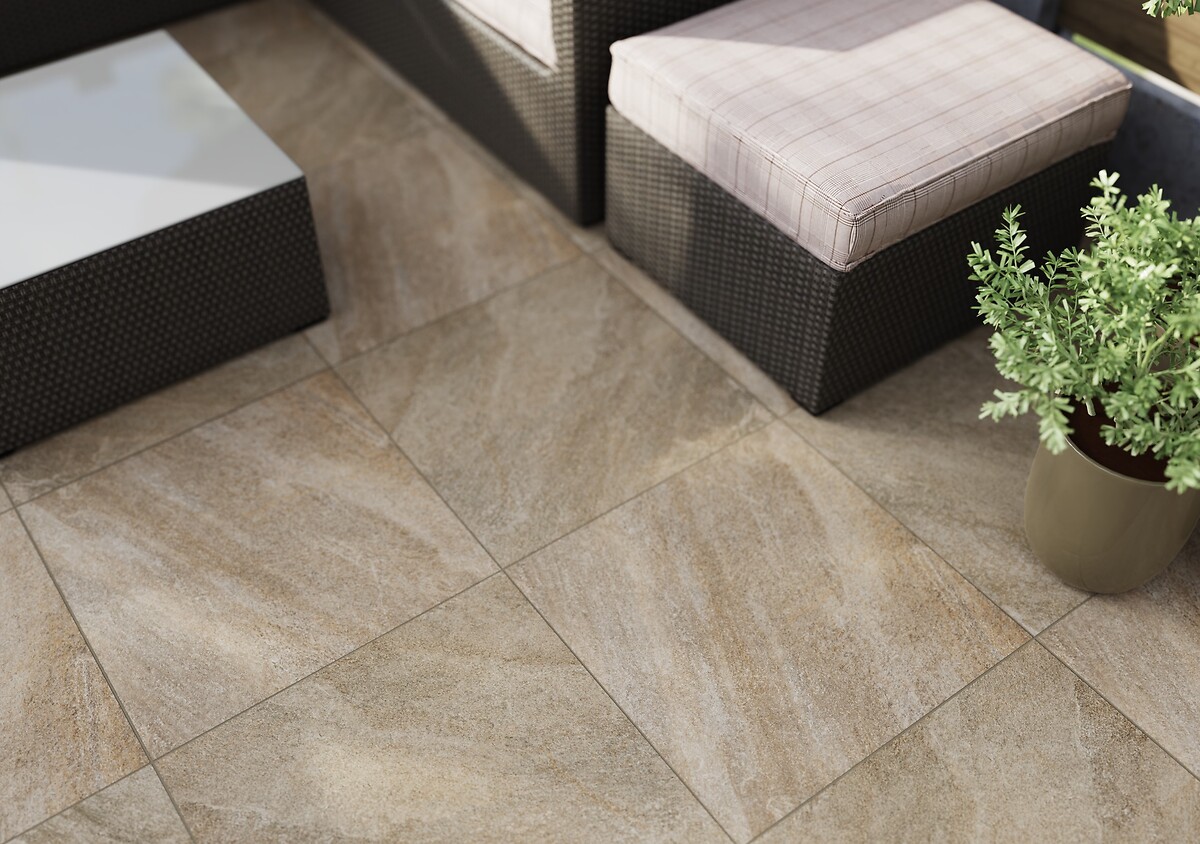
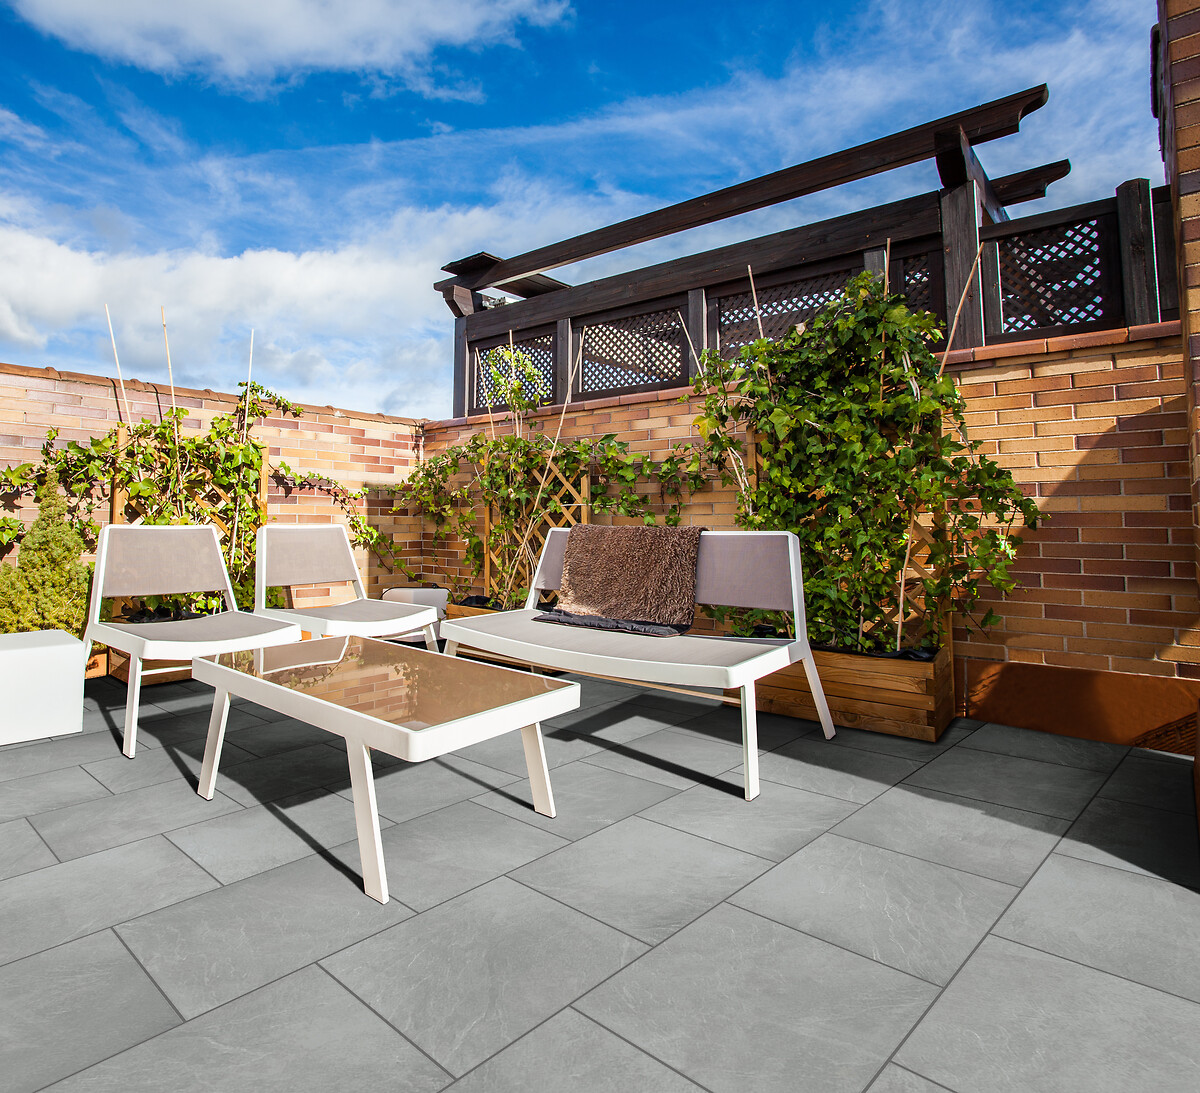
Caliope Beige Outdoor Tiles 60x60cm
Which are the best tiles for a garden patio?
When it comes to laying a patio its important to understand the types of tiles that are suitable for use outdoors.
Ceramic tiles
While it might be tempting to use ceramic tiles, except for Quarry tiles, we would not recommend as they are not frost proof and will crack in cold weather. Why? There is too much moisture left in the tile during the manufacturing process which then expands when it freezes causing the ceramic tile to pop as they say.
Porcelain tiles
Porcelain tiles are the ideal choice for your garden. They are a lot more durable than their ceramic counterparts, and are generally impervious to frost, mould and staining, making them perfect for use all year round. Whats more, if you select a porcelain tile with a high slip resistance, this will ensure they are safe to walk on whatever the weather.
It is worth noting that not all porcelain tiles are created equal. For instance, a 1cm porcelain tile will have to be laid onto a cement screed while a 2cm porcelain tile, such as those listed on the Tile Warehouse website, are specially designed to be used outdoors allowing you to fix the tiles in various ways whether that be on grass, gravel, pedestals, or a cement screed.
Why it is important to plan out your patio
Once youve identified where youd like your patio to go, its always advisable to draw out a plan. Make sure you include all the relevant measurements and mark down any permanent features such as your house, fences etc in your design.
Having planned your patio, you should dry lay your chosen patio slabs out in your preferred design. This is a great way of visualising how your patio is going to look while double checking that your measurements are correct.
If your patio is going to be next to your house, then dont forget that the patio surface needs to sit 150mm below the damp proof course of the house.
What tools do I need for laying a patio?
- Steel toe-capped boots
- Protective gloves for handling materials and lifting
- Safety googles when mixing mortar and cement
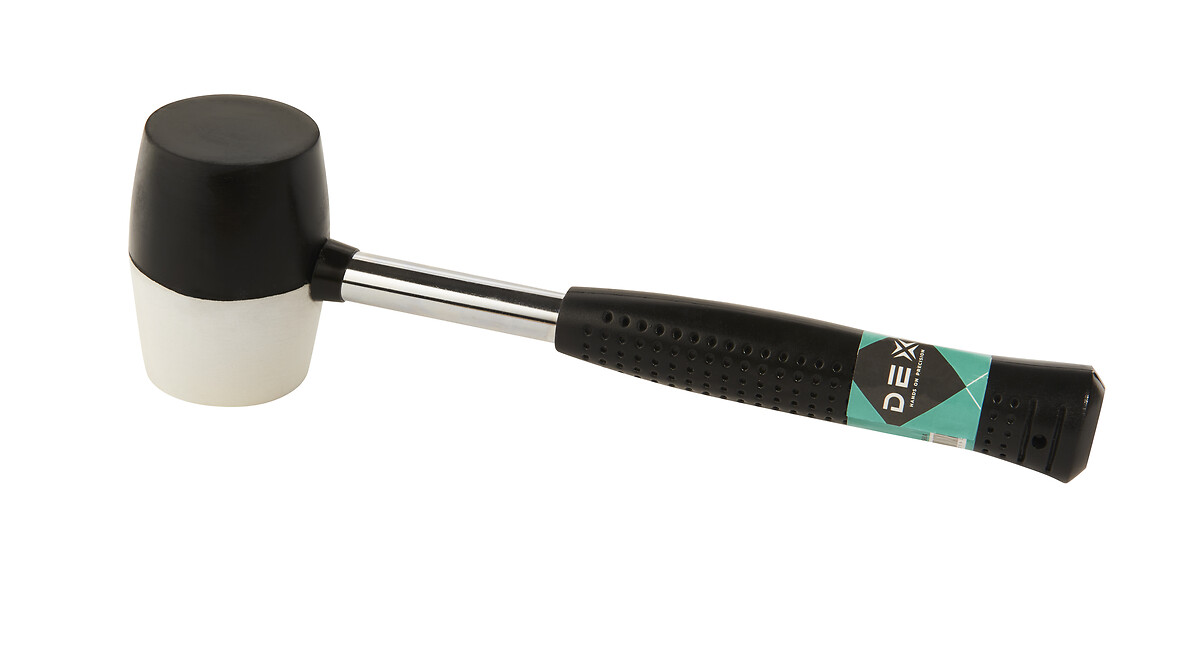
- Rubber mallet
- Spirit level
- Tape measure
- Pegs and string for marking out your patio
What substrate should I use for outdoor tiles?
Preparation is the key when it comes to tiling and we would recommend using a concrete or cement sand screen with a thickness of at least 50mm as the basis on which to lay your outdoor tiles. This way it will ensure that your substrate can support both the weight of the tile but also additional loads (i.e. family, friends or furniture).
How to lay your patio: step by step guide
Step 1
Just like a floor or wall in your house, the first tile that you lay is always the most important, as it provides a guide for the other tiles to follow. So, take your time and make sure that it is positioned correctly and sat level. However, unlike your floor or wall, the best starting position for outdoor tiles is in the corner at the highest point of the patio.
Step 2
Once youve found your starting point, dampen the underside of the tile with a brush and lay it down. Then gently tap the tile with your rubber mallet to bed it in.
Step 3
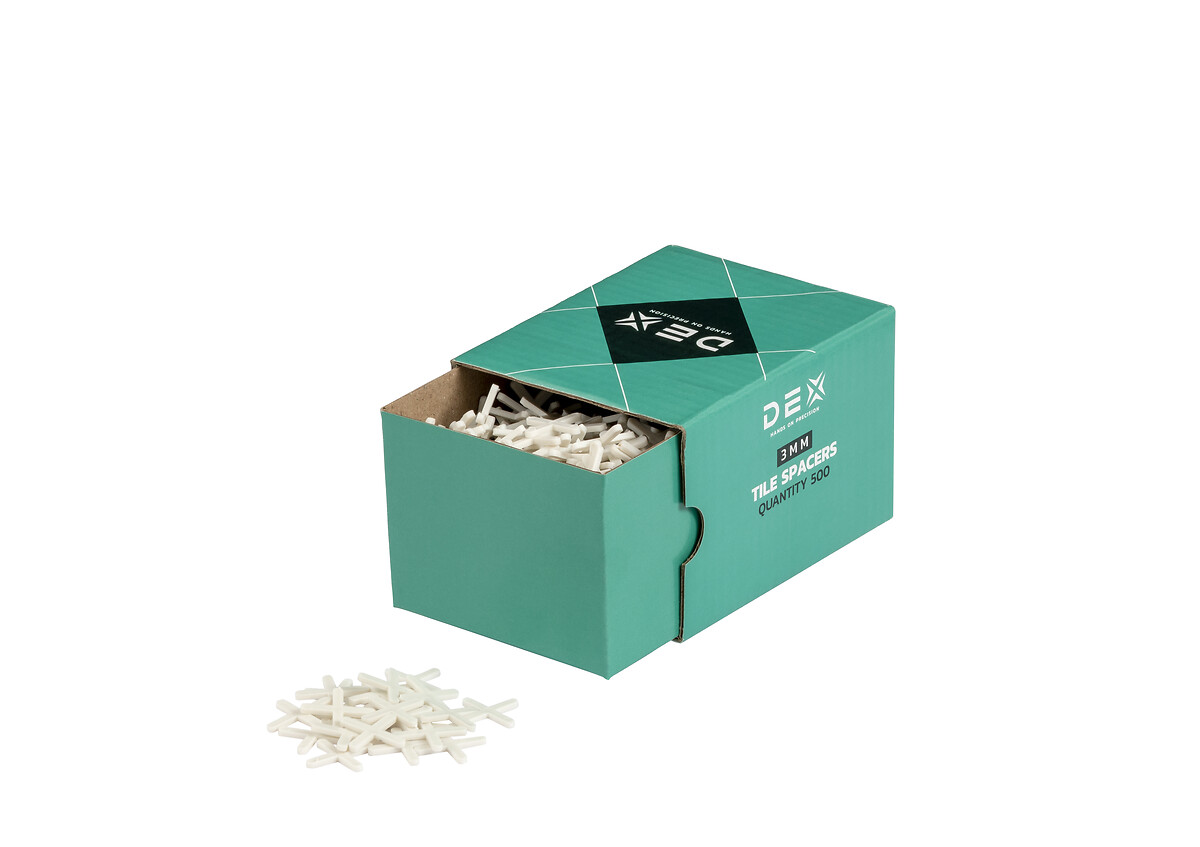
Once youve cracked the first slab (so to speak), laying the rest should be relatively easy. Most people tend to work row by row to keep thing simple. Remember to leave gaps between the tiles (as you would do if you were tiling indoors) using tile spacers. Ideally these gaps should be 5mm.
Step 4
We would always recommend using your spirit level to regularly check your tiles are level as they all need to lie flat so they can bed into the mortar properly.
Now thats done you can breathe out, relax and enjoy whats left of your day while you wait for your tiles to dry. Wed recommend leaving your tiles for up to 48 hours. They always say to cover your tiles if you think its going to rain. But this being the UK, and the general likelihood it will rain, especially in summer, we say cover them straightaway!
How to point a patio
Its time to apply the finishing touches before you can use your patio, namely filling those gaps between your tiles.
If youve left a space of up to 5m between your tiles we would recommend using a soft brush to sweep kiln-dried sand into the joints.
However, if they are anything between 5 10mm then a dry mortar mix is best. The combination of one part sand to one part cement creates a firmer mixture that will set natural as it absorbs moisture from the ground. To apply gradually fill the gaps using a soft brush, compressing the mix as you go along until it is full. Make sure to sweep off any cement mix from the tile to avoid possible staining.
A wet mortar mix is suitable for spaces more than 10mm wide. To create your mix four parts sand and one part cement in a bucket and add sufficient water to create a smooth consistency. Then work the mortal into the gaps with a trowel, smoothing as you go along. Carefully brush away any excess before it has a chance to stain and then leave to dry. We would recommend a minimum of 24 hours for all three methods before inviting your family and friends over for a BBQ.
Need more information?
If you have any questions regarding outdoor tiles, then feel free to contact our Customer Services team using our web chat facility.
Further reading
If look to know more about tiling outdoors, then why not check out these related advice articles: