


Posted on Date 20th Dec 2023
How to set out floor tiles
Make sure your DIY tiling project goes perfectly by planning ahead. This guide on how to set out floor tiles runs through an important part of the tiling process that guarantees a perfect installation. Giving yourself enough time to plan ensures youll have enough tiles (and materials) to finish your project.
One of the vital parts of the planning and preparation stage is setting out your floor tiles properly. This allows you to set out how you'll lay the tiling, using the actual sizes of your tiles, including joint width, so you're not left with awkward gaps and inconsistencies.
Below we detail one of the ways you can set out your floor tiles.
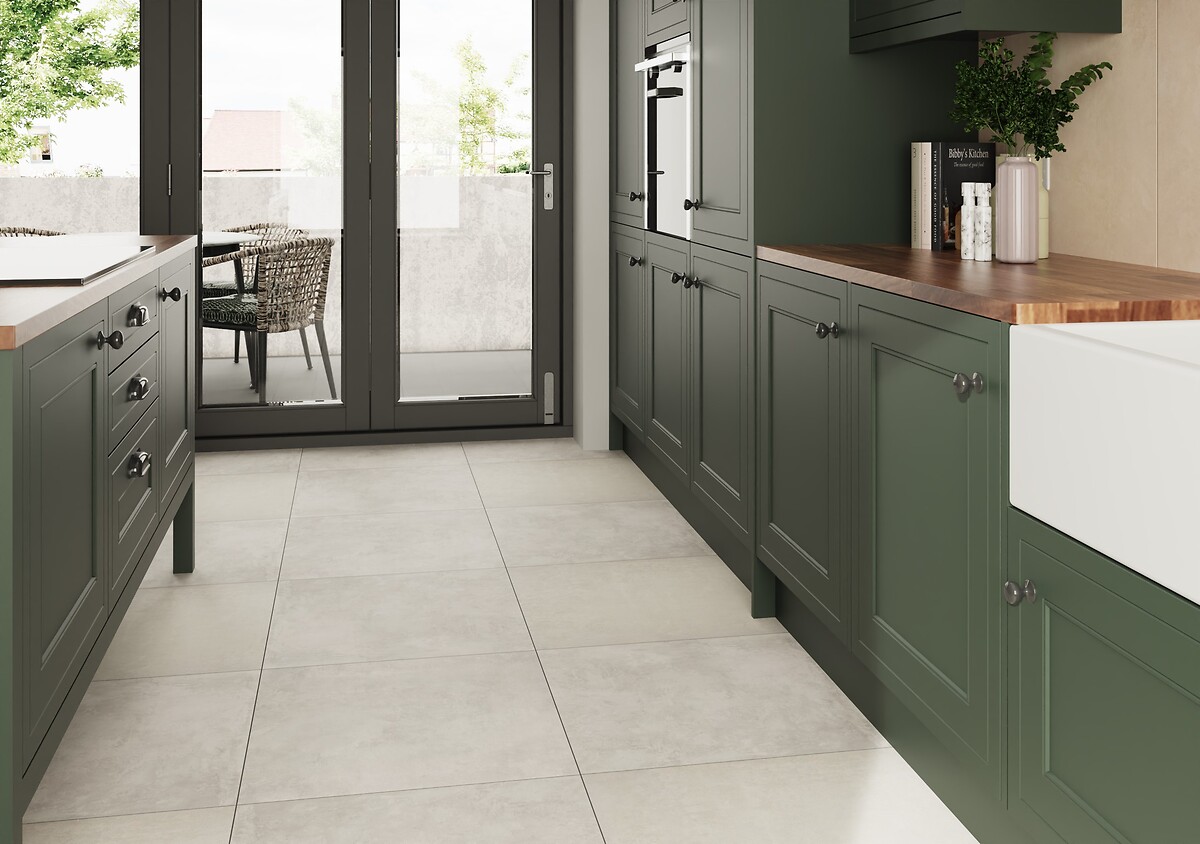
(Elementi Pearl Cement Effect Tiles 60x60cm)
Before you set out floor tiles
There are a few simple things you'll need to make setting out your floor tiles straightforward:
- Pencil
- Tape measure
- Spirit level
Planning tile layout
Preparation is key, especially when it comes to tiling. Planning where you'll lay your floor tiles makes the process so much easier, but there's no hard or fast rule and it may depend on things such as the positions of windows and other features. Use the natural focal point of the area as your starting point.
How to set out floor tiles a step-by-step guide
Step 1: Check if your floor is level
The most important step is ensuring that the surface you're tiling onto is level. Use a straight edge and spirit level on various points of the floor to ensure it is level.
Even surfaces guarantee long-lasting and perfectly fitted tiles. If your surface is out by 3mm over a 2m straight edge, youll need to level the floor first use a self-levelling product. They are easy to use and are guaranteed to create a smooth, even surface on which to tile.
Step 2: Start from the centre of the room
Working from the centre of your room out is the best way to tile your floors. This makes sure that your tiles are correctly positioned and makes life a lot easier when extending your tiling pattern towards the edge of your floor.
Step 3: Mark the halfway points
Your walls may not be equal in size so its always important to measure up before starting.
Measure and mark the centre of two opposing walls then take a pencil and draw a straight line between the two points. Repeat for the other two walls and you will have found the centre point of your room.
Step 4: Dry lay a row of tiles
Now you have the centre point of your room, its time to dry lay your tiles. This means laying one row of tiles (from the centre outwards) up to the walls with 3mm between the spacers without adhesive.
This allows you to check how your tiles will fit. If you find that there are only thin pieces of tiles left by the skirting board, its worth moving your centre tile until theres a gap roughly half the size of your tile around the whole edge of the room.
Once you've done that, and everyone is happy, mark the centre tile with a pencil, and you can start tiling for real.
Step 5: Start tiling
Once you've dry-laid your tiles and found they're fitting perfectly, it's time to start tiling!
Can you tile over floor tiles?
Yes, it is possible to tile over existing tiles, concrete and even wooden floorboards. But you must make sure the surface is in really good condition and correctly prepared for floor tiles and you must use the correct adhesive for your flooring.
Your floor needs to be:
- Even
- Flat
- Dry
- Free from damp
Watch our video
Tile Warehouse has teamed up with hit YouTube channel Proper DIY to show you the best way to dry lay your floor tiles before fitting them in your home. Make sure to watch our video. It's packed full of really useful tips and advice on how to set out floor tiles.
Need more information?
If you have any further questions regarding tiling floors, then feel free to contact our Customer Services team using our web chat facility. They will be more than happy to help.
Check out our other extensive tile ranges:
Floor tiles
Wall tiles
Bathroom tiles
Kitchen tiles
Porcelain tiles
Mosaic tiles
Undecided or just browsing? Check out our entire range here!