


Posted on Date 20th Dec 2023
How to re-grout tiles
The best way to re-grout tiles
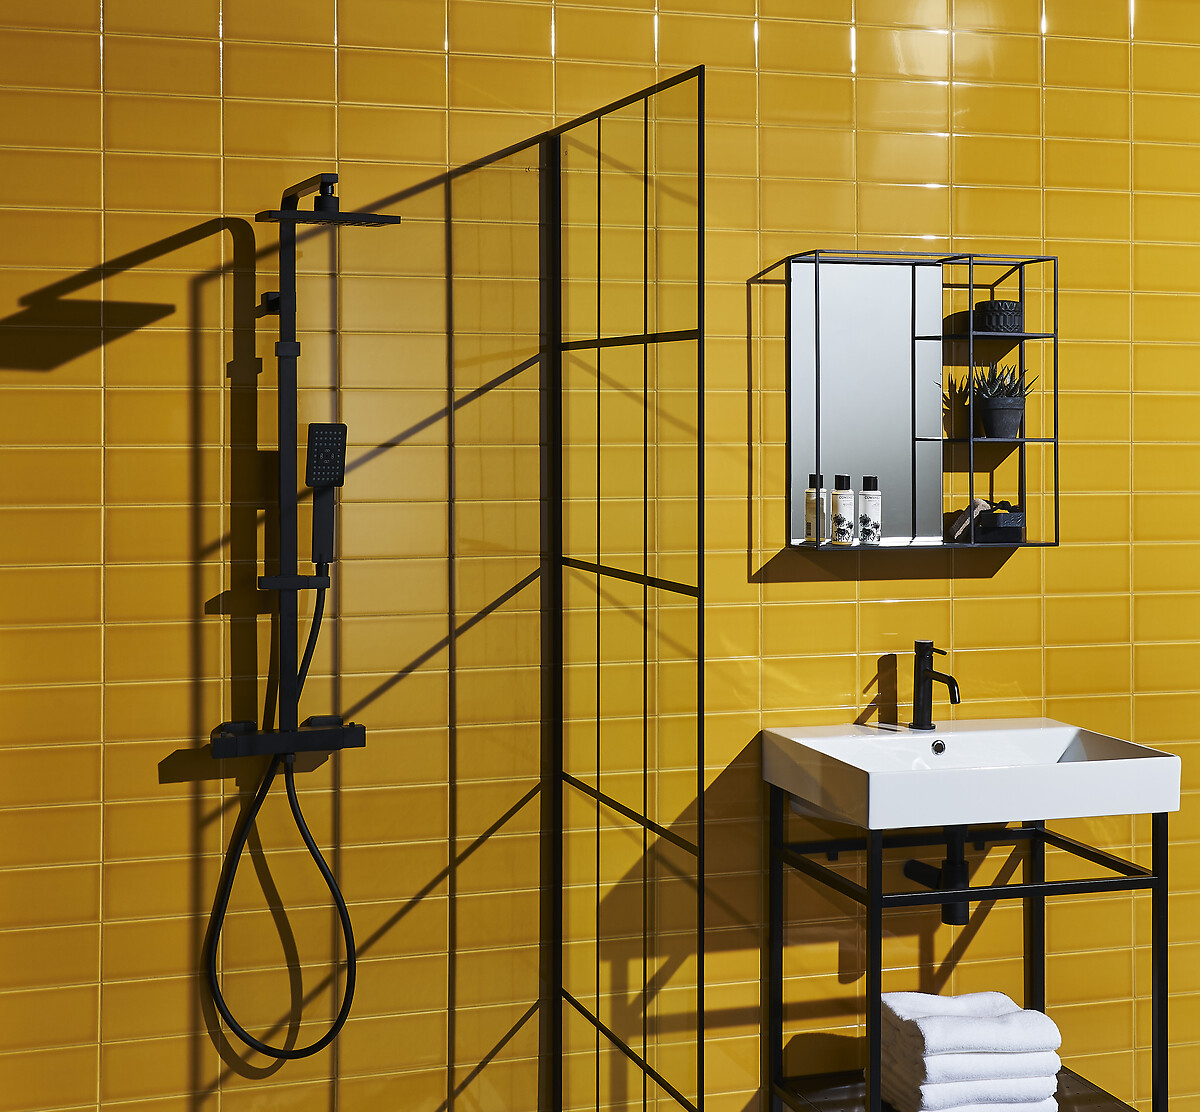
If your tiles are in urgent need of some TLC, but money is tight, then a quick way of turning that frown upside down is by re-grouting your tiles, whether thats in the bathroom or kitchen, floors or walls.
The great thing about re-grouting is that its a quick and easy fix that wont break the bank and will have your room looking great again in no time.
Its a fact of life that tiles can start to look unsightly if the grout is cracking, falling out or become discoloured over time with dirt. Regrouting helps address that problem. Keep reading to find out more about re-grouting your tiles at home.
Why does grout get discoloured?
One of the reasons why grout cracks, or worse, falls out is due to poor installation. This can include the incorrect grout being used, poor mixing, excessive water being used during the mixing process or shower/wet areas being used before the grout fully cures.
Grout that is made with excessive water can result in damage that weakens the grout structure, eventually the grout can become powdery and weak, resulting in the grout failing.
An equally common problem with grout can be the use of incorrect cleaning products such as bleach. Because bleach is so highly reactive, it can slowly destroy the protective cement-based materials that it comes into contact with, including tile finishes, protective tile sealants and, last but by no means least, grouts. This can eventually lead to deep-set stains as well as mould and mildew in between the cracks in the grout.
What tools do you need to re-grout tiles?
- Gloves
- Dust sheets
- Mask
- Safety Glasses
- Grout rake
- Mixing Paddle
- Grout float
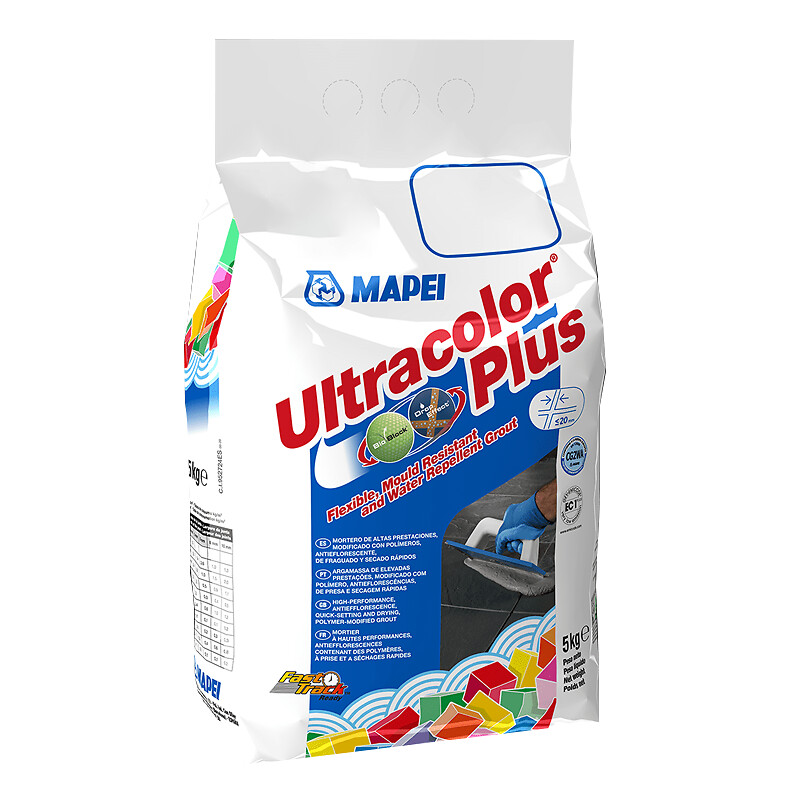
- Tile grout
How to remove old grout: a step-by-step guide
Step 1
Regrouting can be a messy business so make sure to wear suitable gloves as well as face mask and cover up any furniture in your bathroom or kitchen with a dust sheet.
Step 2
Before applying your new grout, you first need to remove the old grout. Whatever, you do, never try to apply the new grout over the existing grout. While it might appear tempting, especially if you are up against it for time, all that will happen is that the new grout will start to flake off before you know it.
The best way to remove your old grout is manually using a grout rake. It can be a bit labour intensive, and you will need a couple of spare blades to hand, especially If you are dealing with a large area, but it works and is highly cost effective.
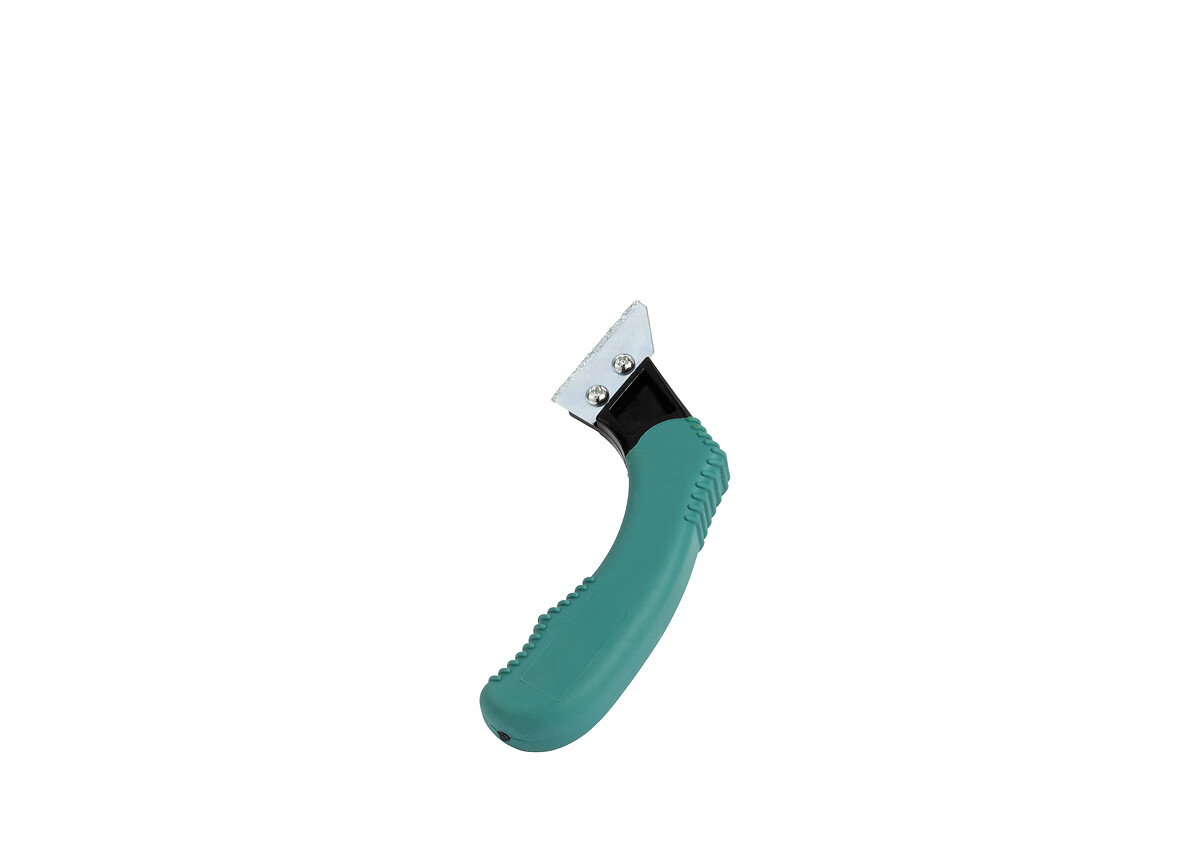
Simply place the grout rake in the joint and move the rake up and down firmly along the grout line. You will soon see the grout begin to powder and then eventually drop. Try and take your time as rushing the raking could lead to damage to the tiles.
Step 3
Once all the old grout has been removed, and the grout lines are free from any debris or dust, give them a wipe with a damp sponge before getting ready to apply your grout.

How to apply new grout: a step-by-step guide
Step 1
When grouting tiles, make sure to add the grout powder to the water in your mixing bucket and not the other way around as this will ensure a lump free consistency once mixed.
And always mix your grout in your mixing bucket according to the instructions on the packaging as different grouts require differing quantities of water. Try not to mix too much at one time as it will harden very quickly resulting in potential waste.
Step 2
Once youve got your grout as the right consistency, place some grout on the tiles, hold the grout float at 45 degrees and apply the grout ensuring all the joints are filled. Once all the joints between the tiles are grouted, leave for at least 15 minutes until the grout is touch dry and then using a dampened sponge clean the surface diagonally to the grout lines.
Step 3
Make sure to rinse out the sponge frequently with clean water and dont apply too much pressure on the grout joints and dont over wash them, if you do it will remove the pigment out of the surface of the grout and white patches will appear in the grout.
And thats it. The transformation is complete. All you need to do now is leave the grout to dry fully before returning to admire your handiwork. Always check the manufacturers instructions for exact drying times.
Watch our video
Tile Warehouse has teamed up with YouTuber Proper DIY to show you the best way to re-grout the tiles in your home. Our video includes top tips for DIYers of all levels.
Need more information?
If you have any questions regarding re-grouting your tiles, or anything to do with tiling in your home, then feel free to contact our Customer Services team using our web chat facility.