Posted on Date 20th Dec 2023
How to replace damaged tiles
Repairing damaged tiles
Tiles are designed to last a long time. But accidents do happen and occasionally your tiles will need replacing if they become cracked or worse, broken.
Removing damaged floor or wall tiles is a relatively easy process but it can also be hazardous so its essential you wear protectives gloves and googles together with a long sleeve, and also to clear up any fragments of tiles as you go along.
Its also advisable to cover up any furniture as old tiles tend to have a habit of coming off the walls in every direction. So, if you are in the bathroom for instance, make sure to protect your sink, shower or toilet against potential damage. An old sheet should be more than satisfactory although if you have cardboard lying about in the garage even better.
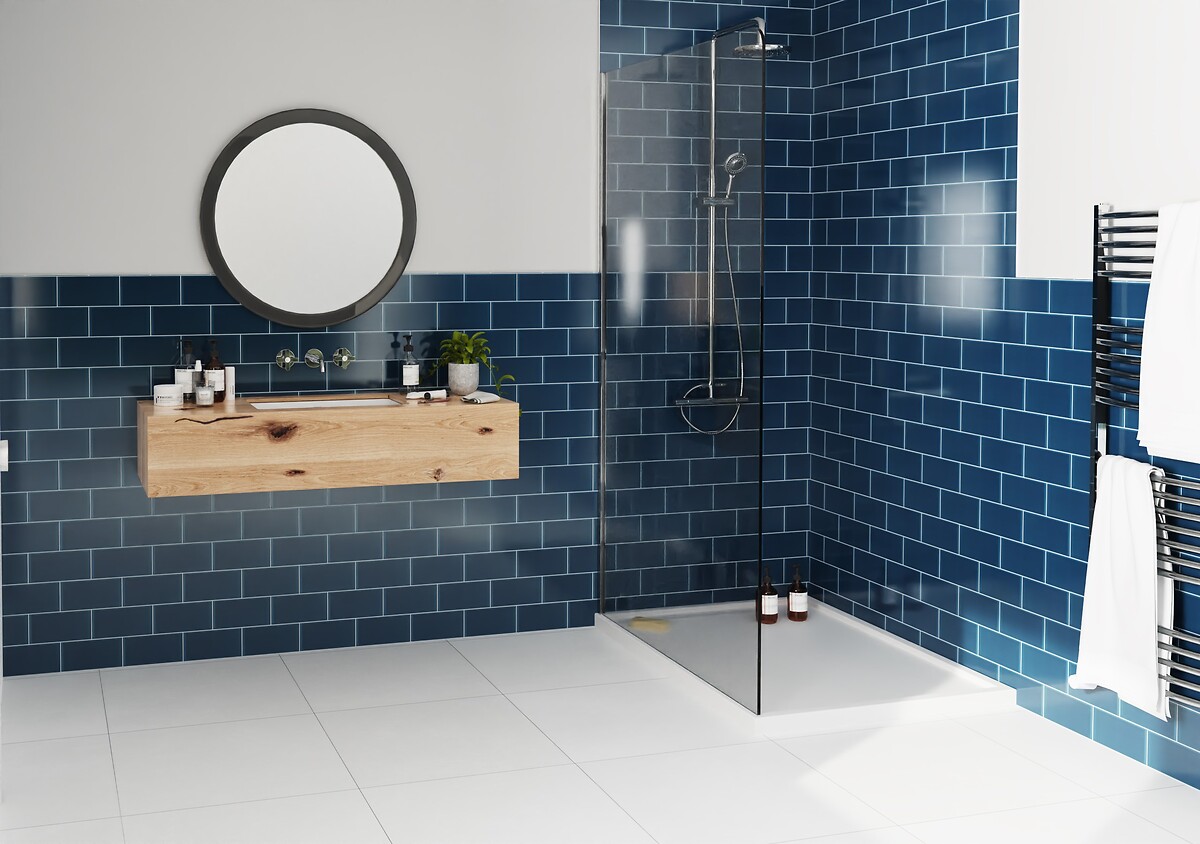
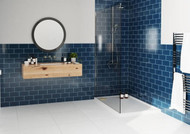
Underground Teal Tiles 10x20cm
What tools do you need to remove old tiles?
Removing and replacing damaged tools requires only a small number of tools:
- Chisel
- Gloves
- Googles
- Grout rake
- Hammer
How to remove old tiles
The easiest way to do this is to simply place the chisel in the centre of the damaged tile and hit it with the hammer. This will shatter the tile, giving you access to the remainder of that tile.
Once youve removed the tile then use a grout rake to lightly remove the grout from around the tile. Next you will need to make sure that all the old adhesive has been removed using a scraper (or a hammer and chisel if its particularly tough to get off). Once all of the adhesive has gone make sure to brush away any remaining dust until the surface is completely clean.
How to fit new tiles
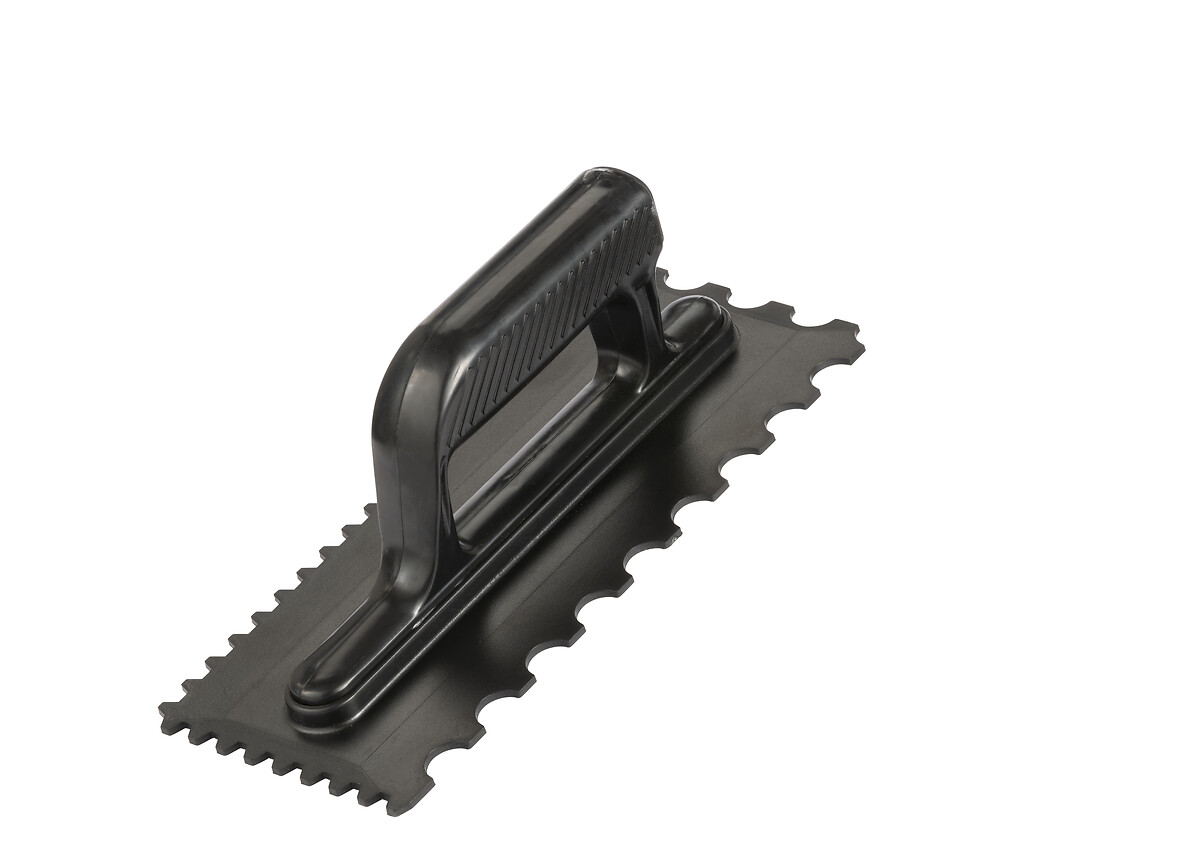
Once you are happy that all of the tile has been removed its time to mix your adhesive before applying it to the back of your tile at 45 degrees using a notched trowel. The notched trowel ensures that an equal amount of adhesive will get behind the tile. Then when you are ready fit the tile into the space with a light twisting and pressing motion.
If its not flush with the existing tiles, you may need to add or remove some adhesive as appropriate. Then insert tile spacers into the corners around your tile to ensure a consistent gap with the surrounding tiles before leaving the adhesive to dry. If there is any excess adhesive on the tile, make sure to wipe it off with a damp sponge.
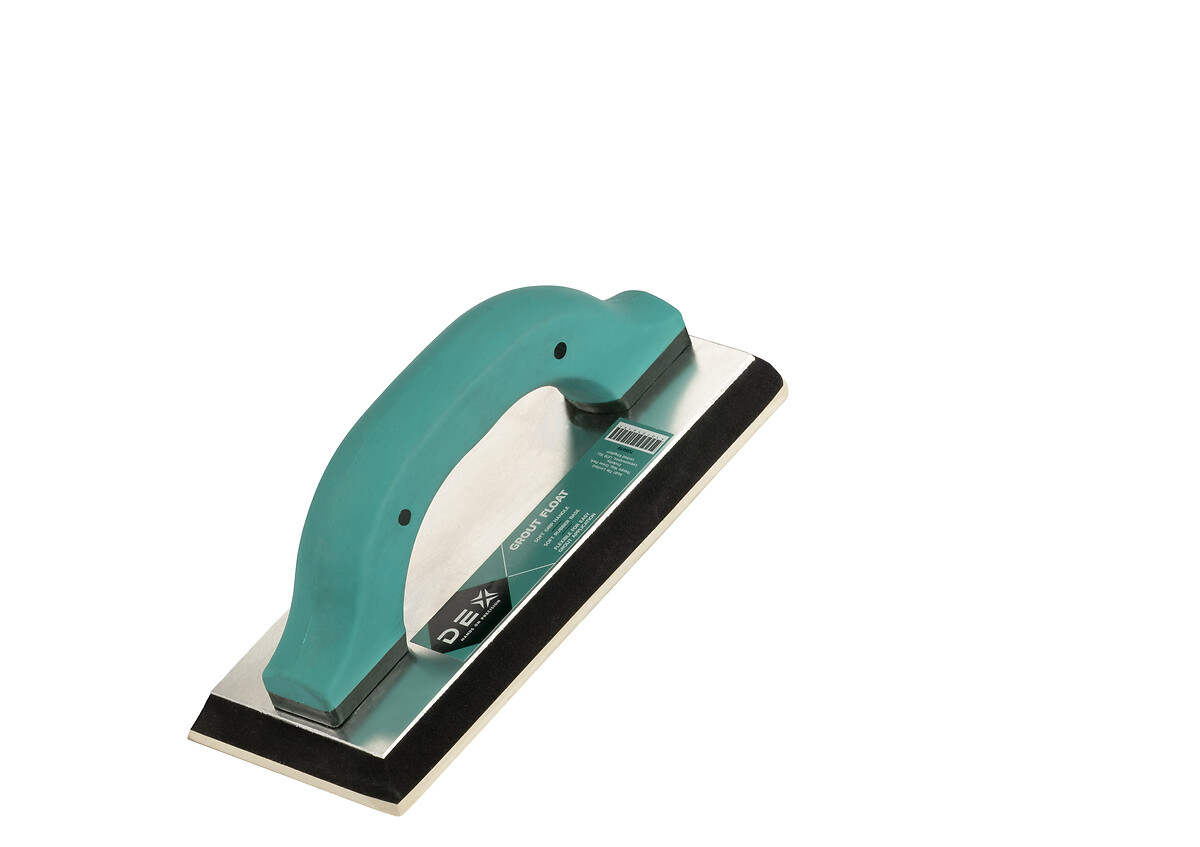
The last thing you need to do is remove your tile spacers and using a grout float work your grout into the tile joints in smooth diagonal movements. And, just like the adhesive, make sure to wipe off any excess grout from the surface of the tile and leave to fully dry.
And there you have it; your damaged tile has been replaced. All that remains is to give your tile a wipe with a clean dry cloth to remove any remaining grout (sometimes known as grout haze), and you can stand back and appreciate your hard work.
Watch our video
Tile Warehouse has teamed up with YouTuber Proper DIY to show you the quick and easy way to replace damaged tiles. Our video is packed full of practical tips and techniques for DIYers of all levels of removing damaged tiles from the floor or wall.
Need more information?
If you have any questions regarding tiles, then feel free to contact our Customer Services team using our web chat facility. They will be more than happy to help.
Further reading
If you would like to find out more about how to fit tiles, why not check out these related advice articles:


