Posted on Date 20th Dec 2023
How to get a wall ready for tiling
Tiling A Wall
Preparation is the key when it comes to tiling. Which is why we've created this handy guide to help ensure your walls are ready for when it comes time to tile.
The key when it comes to tiling a wall is to take your time and don't worry if you make a mistake. Plus, most of the advice is common sense and, if followed, will make your tiling project that much easier.

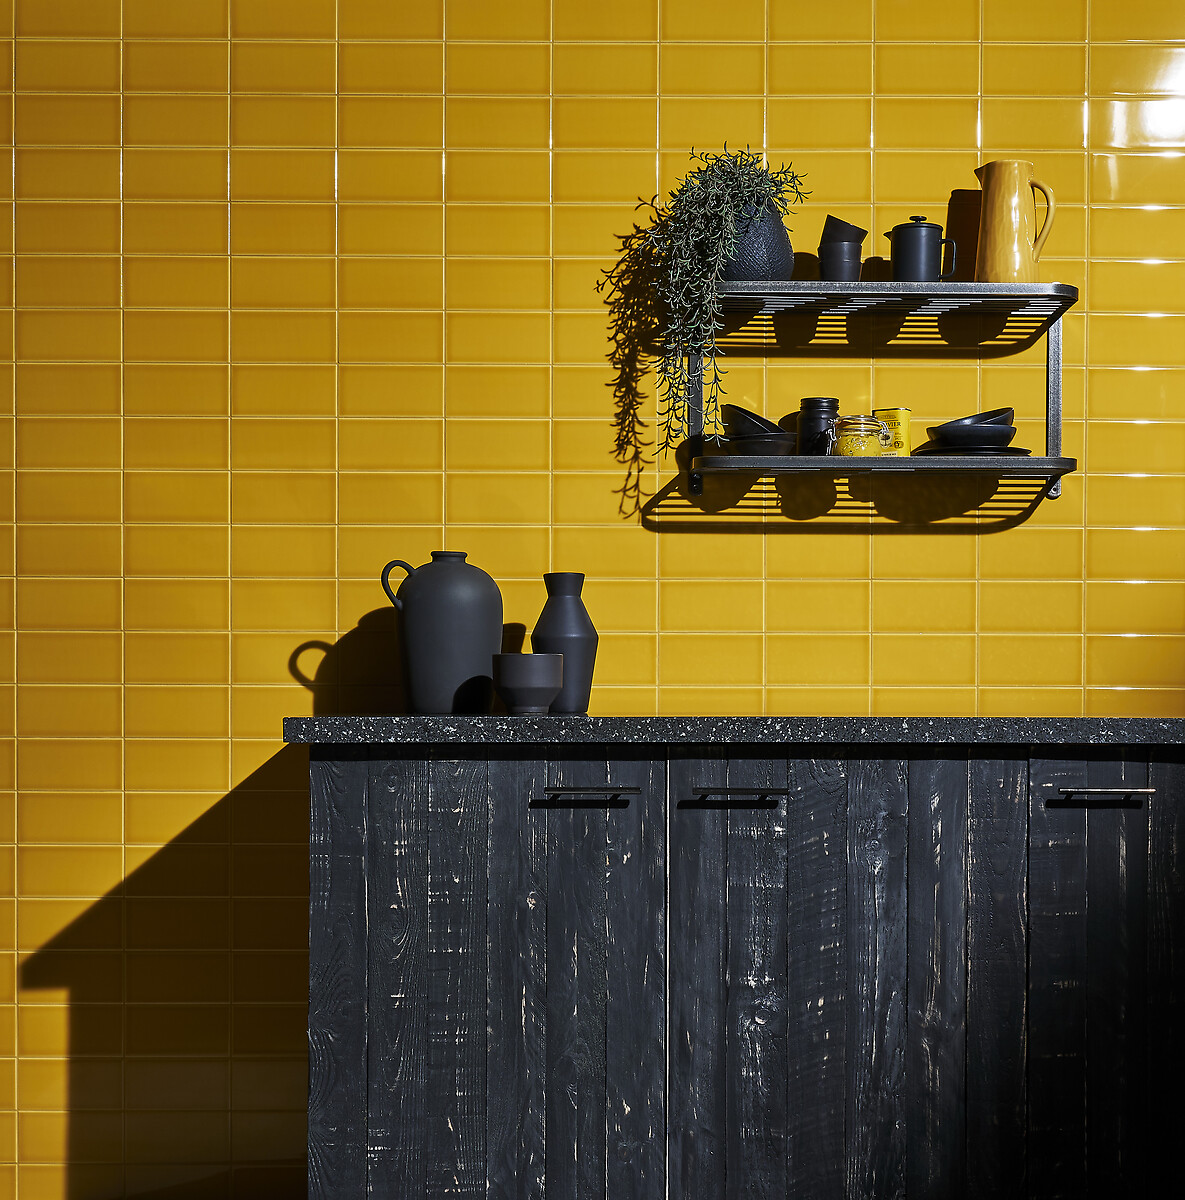
Matrix Mustard Gloss Tiles 9.8019.80cm
How to prepare a wall for tiling
There are a few basics to consider before tiling your wall:
- Remove all hooks, nails, or screws from your wall
- Remove any loose plaster
- Remove any wallpaper
- Fill any large cracks or holes in the wall (with a suitable filler)
- Make sure the wall is level if filling in any cracks or holes. It's always advisable to sand it down as well so it's nice and smooth
- Wipe the wall with a damp cloth so it's clear of any dirt or dust
- If there are any bumps on the wall which are more than 4 5mm make sure to sand these down as well
Other things to consider before tiling your wall
Make sure to measure the wall before ordering your tiles. If you are struggling, then use our free tile calculator tool to work out the total number of tiles that you will require. It's also advisable to buy at least 10% more tiles when ordering in case get broken when you are fitting them at home.
Can I tile onto any surface?
Sadly not. There is no one size fits all approach when it comes to tiling. All surfaces will need preparing correctly, freshly plastered walls will need at least 30 days to fully dry and if you are tiling over brick, block work or cement then wed recommend using a cement board such as Hardiebacker.
Also, when tiling onto walls make sure to factor in the weight of the tiles. You should allow 3kg per m in your weight calculation. This will cover the weight of the adhesive and grout too.
Guidance weights for suitable tiling surfaces are:
- Gypsum Plaster up to 20KG/m2
- Gypsum Plasterboard direct without a plaster skim up to 32KG/m2
- XPS Boards (Wedi) up to 120KG/m2
- Cement Boards (HardieBacker) up to 200KG/m2
Surfaces must be level, dry and free of dust, grease or any loose material and completely secure without any obvious movement and capable of carrying the additional weight of the tiles and adhesive. Dont forget that if you are planning to tile in the bathroom or shower room these will need to be fully waterproofed prior to tiling.
NOTE: Under British Standards BS 5385 Part 1, plywood is not a suitable substrate for the direct fixing of wall tiles, therefore when tiling onto walls, a tile backer board is recommended. For more information check out our guides on How to Use Backerboards and also How to Waterproof a Bathroom.
Can I tile over old tiles?
Many people do tile straight over their existing tiles providing the existing tiles have be soundly bonded to the walls. If the old tiles de-bond from the wall and fall off, then so will the new ones so make sure the old tiles are well fixed. One way to check is to gently tap them. If it sounds very hollow then they are likely not well bonded. Pay particular attention to tiles in your bathroom as these tend to be the ones which have the most bonding problems.
If there are any loose tiles remove them with a chisel and a hammer and fill in the cavity. Once this is done, the existing tiles need to be cleaned as any grease or dirt could affect the bond of the adhesive used for the new tiles. See our list of suitable products for clean your tile surface. And, as previously mentioned, don't exceed the tile weight limit for the substrate and factor in the weight of any existing tiles.
Tools needed for tiling a wall
Once you've measured up your space, prepared your surface, selected your tiles together with your adhesives and grouts, you then need to turn your attention to the tools you will need to complete your tiling project.
But what do you really need and what can you do without? Here's our top 10 essential tiling tools:
- PPE Gloves, mask, and protective glasses (to keep you safe from dust and debris)
- Measuring tape (to help work out how many tiles you are going to need)
- Tile cutters
- Tile nippers (to nip small chunks out of your tiles
- Tile spacers
- A bucket (and preferably a big one as tiling can be a messy business especially when mixing adhesives and grouts)
- Mixing paddle (for mixing grout and adhesive)
- Grout float (to press the grout in between your tiles)
- A trowel (to spread adhesives)
- And, last but by no means, a sponge, and a suitable end of work cleaner to wipe away all the grout that's still left on your tiles, but you can see because its dried)
Thats all the preparation done. It's now time to start tiling.
How to fit backer board to walls
If you would like to know how to fit backer boards to your walls, then make sure to watch our video below featuring hit YouTuber Proper DIY. Stuart Matthews, founder of Proper DIY, explains the best way to cut as well fit backer boards in the home.
Need more information?
If you have any questions regarding removing your old tiles in your home, then feel free to contact our Customer Services team using our web chat facility.


