


Posted on Date 20th Dec 2023
How to tile a splashback
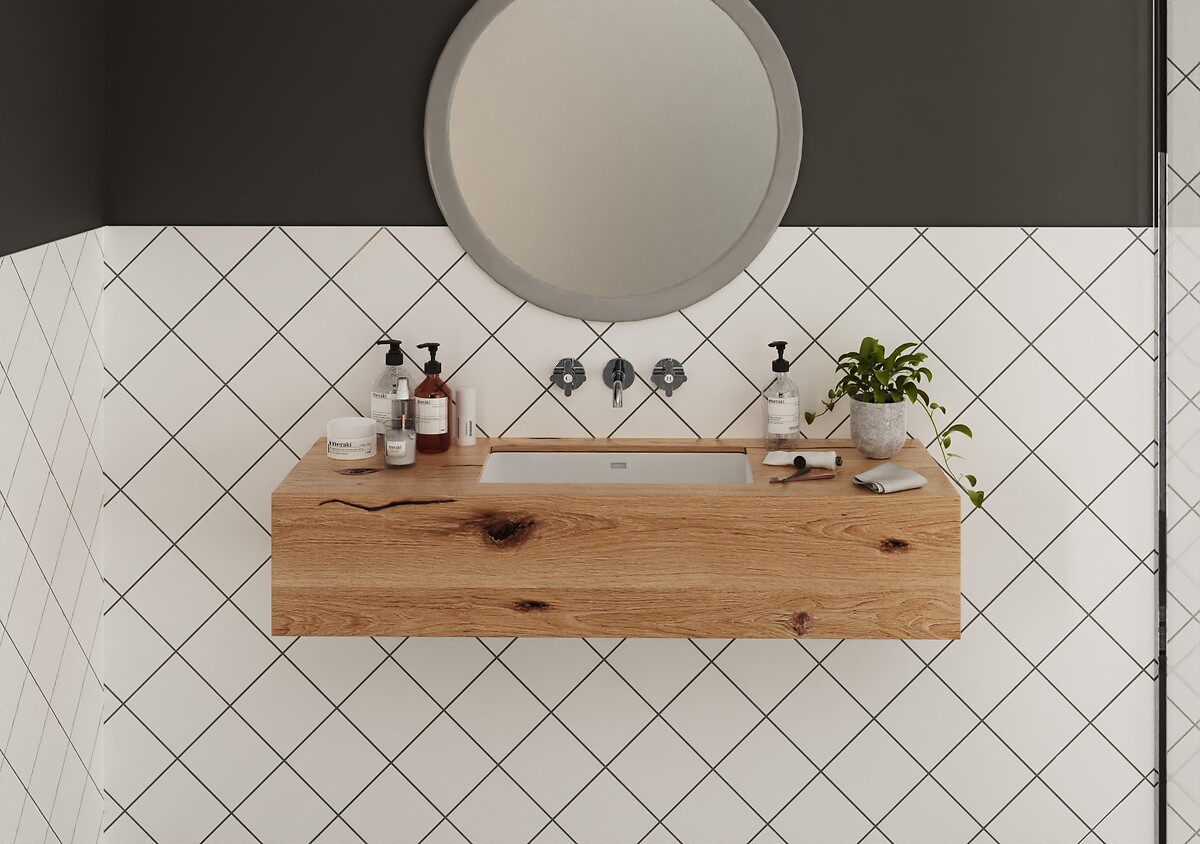
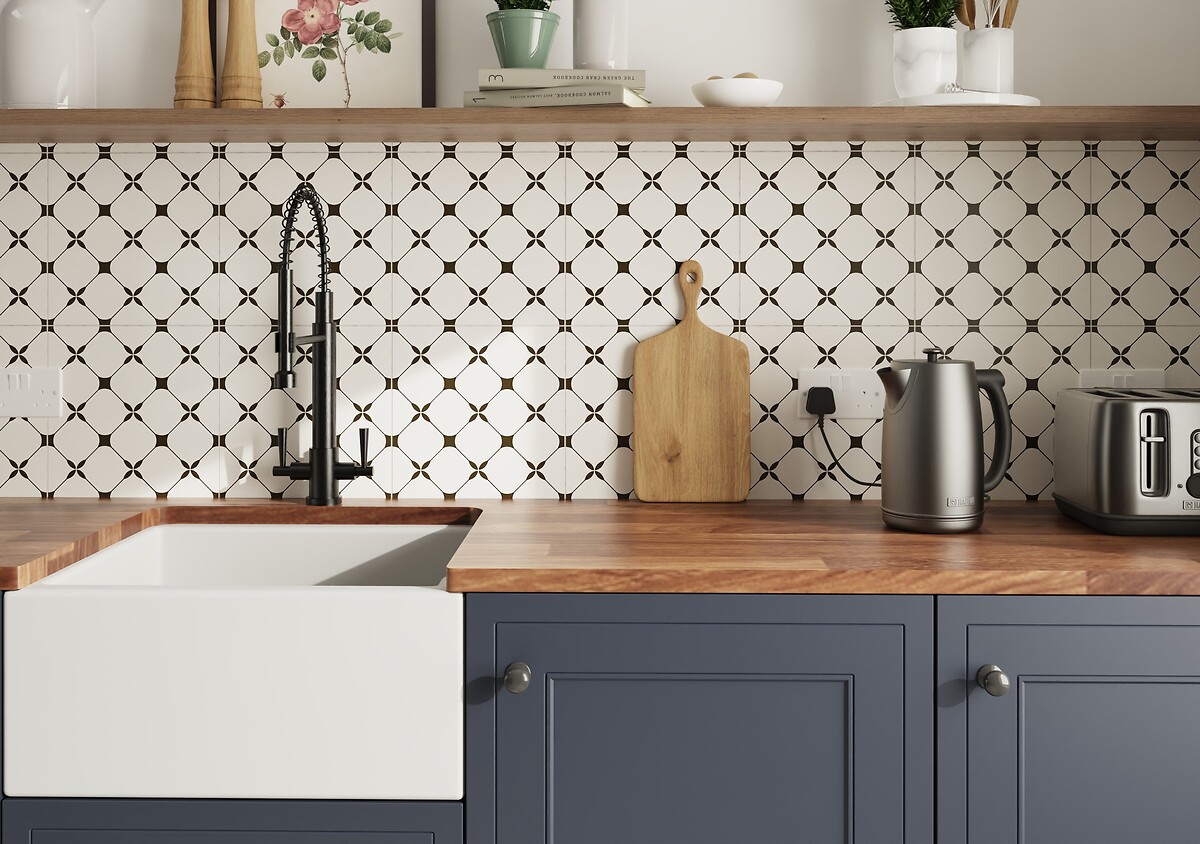
When using the hob or sink, splashes and stains on the wall behind are almost an inevitability.
However, a tiled splashback in the bathroom or kitchen can help to alleviate this problem and help not only to protect your walls but also make them easier to keep clean.
Splashbacks are also a great way of adding interest to your room, whether that be through the use of colour, contrasting grouts or tile laying patterns.
Plus, they are one of those DIY jobs that with a bit of a guidance most of us can attempt ourselves, saving us money in the process, which can be better spent elsewhere.
So, make sure to read on to find out what tools and accessories you are going to need for a splashback as well as a step-by-step guide to tiling a splashback at home.
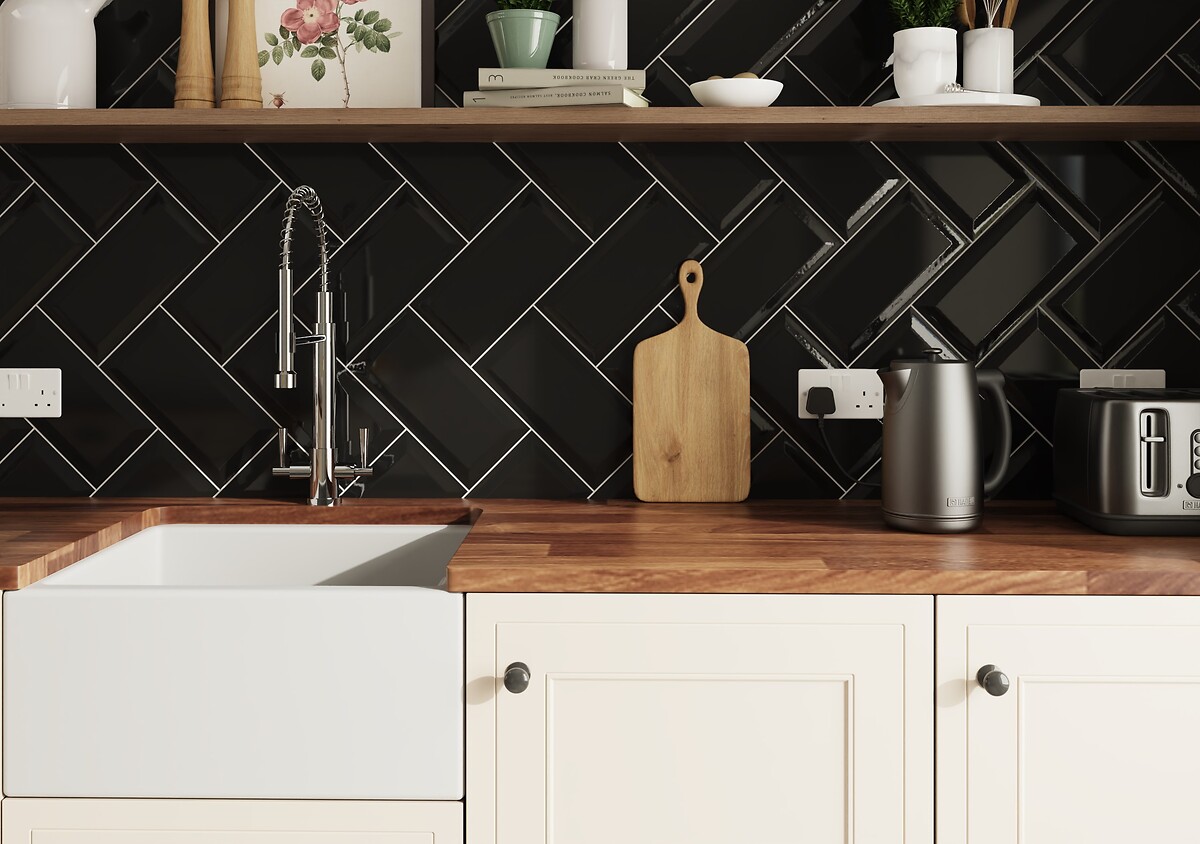
What tiles can you use for a splashback?
There are no hard or fast rules when it comes to the types of tiles that can be used for a splashback with ceramic, porcelain, natural stone and even mosaic tiles more than suitable. For more information on the various styles as well as sizes of splashback tiles, click here.
What tools do you need for tiling a splashback?
When tiling a splashback, wed recommend using the following tools:
- Tile adhesive
- Grout
- Grout float
- Notched trowel
- Tape Measure
- Tile cutter
- Tile spacers
How to tile a splashback: a step-by-step guide
Step 1 Measure the space for your splashback
Make sure youve measured the area of your splashback. If youre struggling to do this, check out our video here on the best way to measure your rooms. Youll find it very useful.
Once youve worked out the size of the space for your splashback in your bathroom or kitchen, this will allow you to calculate how many tiles you are going to need. Again, if you need help on this front try the free Tile Calculator app on the Tile Warehouse website. Wed also recommend ordering 10% more in any case of damages (or you need to repair a damaged tile at some point in the future).
Step 2 Prepare your area for tiling
Once youve worked out the size of the area you are planning to tile, and calculated how many tiles you are going to need, its time to prepare your wall for tiling.
If there are any lumps or bumps on your wall, make these are sanded down so the area you are going to tile is clean, smooth and level. Ensure your wall is flat and that any bumps or lumps have been sanded down. For more detailed advice on getting a wall ready for tiling make sure to read our blog here.
Step 3 Mark out where you are going to tile your splashback
Next measure the width of the area to be tiled and mark the centre point on your wall. Then mark another centre point at the top of your tiled area so you know where you want your tiles to stop. Finally draw a vertical line between the two points to give you your centre line. Its also worth at this point dry laying your tiles to work out your tile laying pattern (i.e. brick bond) and whether or not you will need to cut any tiles to fit the available space.
Step 4 Mix your adhesive
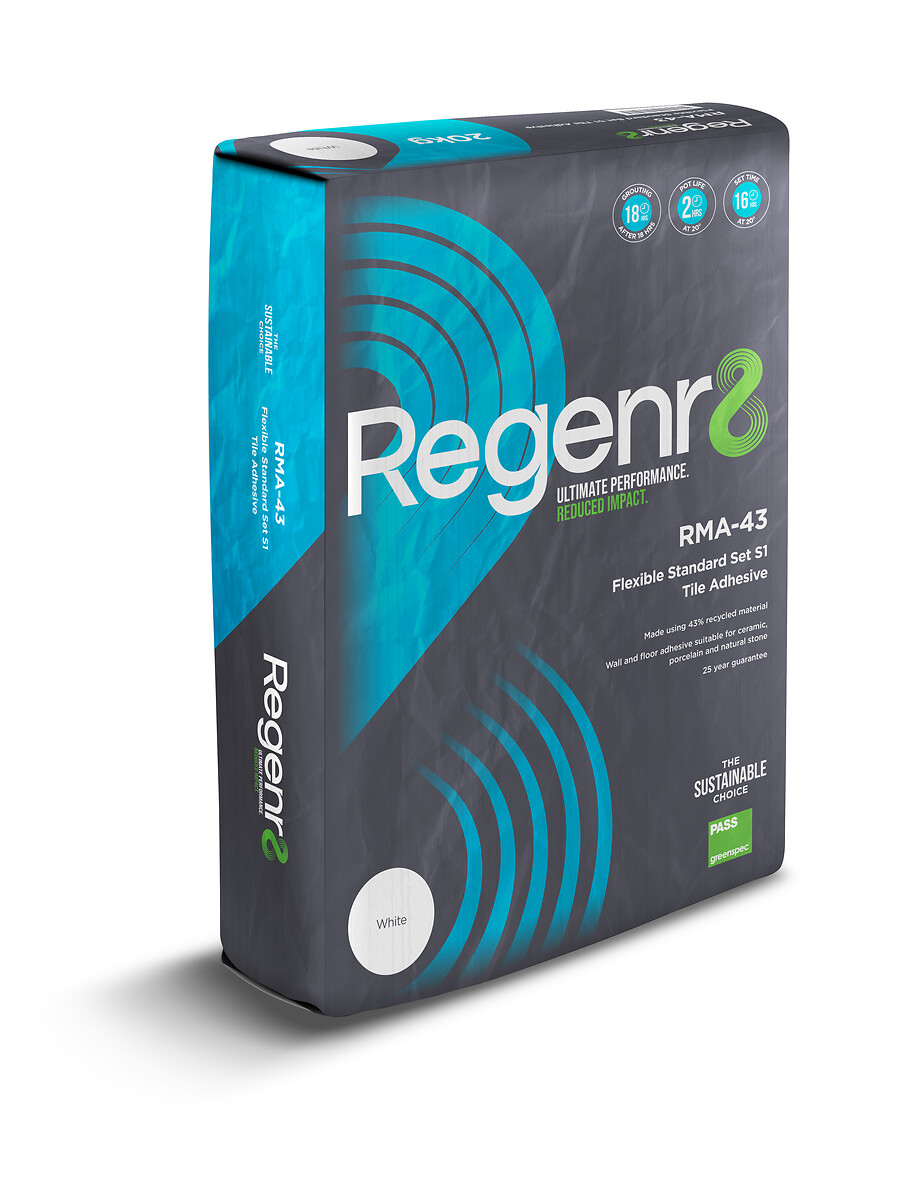
Always follow the manufacturers instructions when it comes to mixing tile adhesive. Also make sure you choose the right tile adhesive, especially in wet areas like sinks or showers in order to provide your tiles with the maximum grip.
Once youre happy with the consistency of your tile adhesive, use your notched trowel to apply your bed of adhesive on your wall. If you need help choosing the right sized trowel for your tiles, click here.
Step 5 Lay your tiles
Now its time to start laying your tiles. Place your first tile onto your bed of adhesive. Working from the middle outwards to the sides, apply the next tiles in the row. Make sure to use tile spacers to create even gaps between each tile for your grout and clean away any excess adhesive as you go along.
Once complete its time to leave your adhesive to dry. We would recommend at least 24 hours before applying your grout.
Step 6 Apply your grout
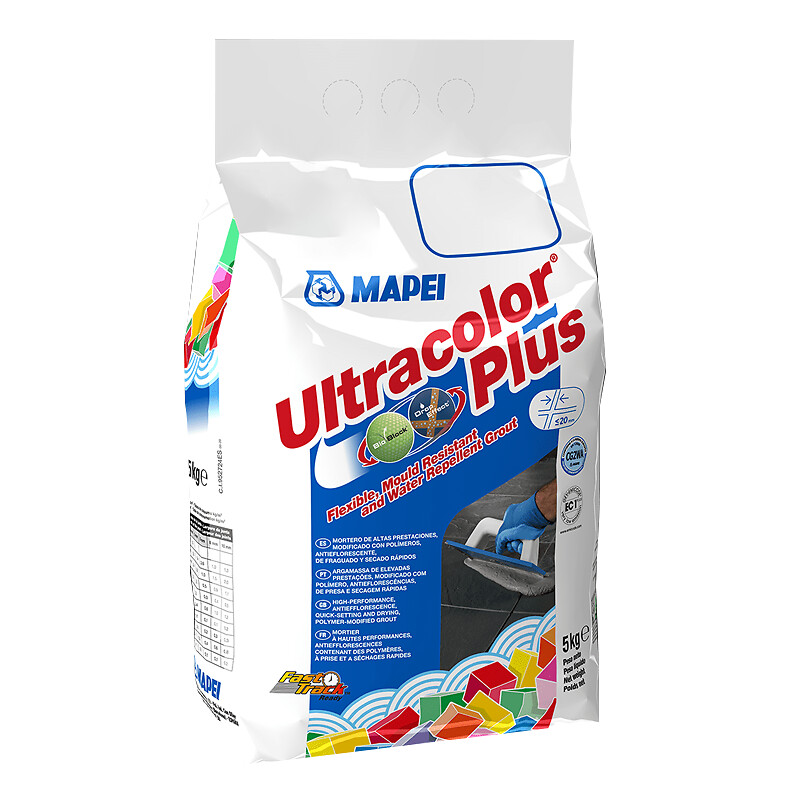
The bulk of the work is now done. Now its time to grout your tiles. Firstly, mix your grout following the manufacturers instructions until you are happy with the consistency.
Then using a grout float, apply the grout to the gaps in the tiles by holding the grout float at a 45-degree angle and working across your tiles. Repeat the process until you are happy that all the grout lines are filled. Make sure to wipe away any excess grout once youve finished with a clean damp sponge (rather than once its dried). Then its just a case of waiting for it to fully dry before sealing with either a silicone sealant or a tile trim to ensure your tiles remain watertight.
Watch our video
Tile Warehouse has teamed up with YouTuber Proper DIY to show you the best way to tile a splashback in either your bathroom or kitchen. Our video is packed full of tips and techniques for DIYers of all levels.
Need more information?
If you have any questions regarding selecting the right tiles for your home, then feel free to contact our Customer Services team using our web chat facility.